
Using Google Maps as a Road Trip Planner
We may earn money or products from the companies mentioned in this post.
There are a lot of road trip planners out on the market these days, but the majority of them cost money to maintain your route and account. That is why we use Google Maps as our road trip planner.
Road trip planning can be fun and exciting, especially when you start thinking about all the cool new places you are going to explore. When we plan a trip our biggest problem isn’t which city to choose, it is what to do in the city. This is where Google Maps comes into our road trip planning.
In this post, we are going to walk you through how you can utilize Google Maps for your own road trip planning to help save money and get you on your next adventure sooner.
Steps To Getting Started
- Login to your Google Drive. If you don’t have a Google account you can sign up for one here.
- Next click on +New on the left-hand side.
- Click the more option
- Click on Google Map
*Note: We like to have a road trip folder in our Google Drive. To do that you just follow the steps above but instead of creating a Google Map you will want to create a map.
Destination Planning
We usually have a location or reason to pass through a certain location on our list. For example, when planning our trip to West Virginia, I wanted to see the Trans-Allegheny Lunatic Asylum and Peter wanted to visit The Greenbrier hidden bunker. With these two attractions in mind, we knew that West Virginia would be a great road trip idea; and it was!
Other times, we pick a state and start researching as much as possible. This is how we explored New Hampshire last fall.
Once you have a destination or attraction in mind we start planning our trip!
Road Trip Planning With Google Maps
Starting a Road Trip Map in Google Maps
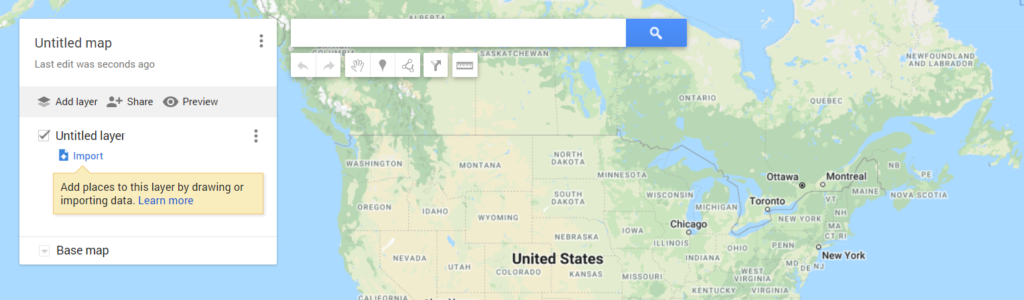
1) Open a new map in Google Drive.
Your map will look something like this.
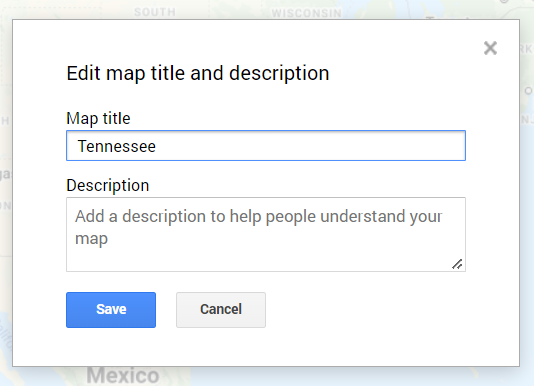
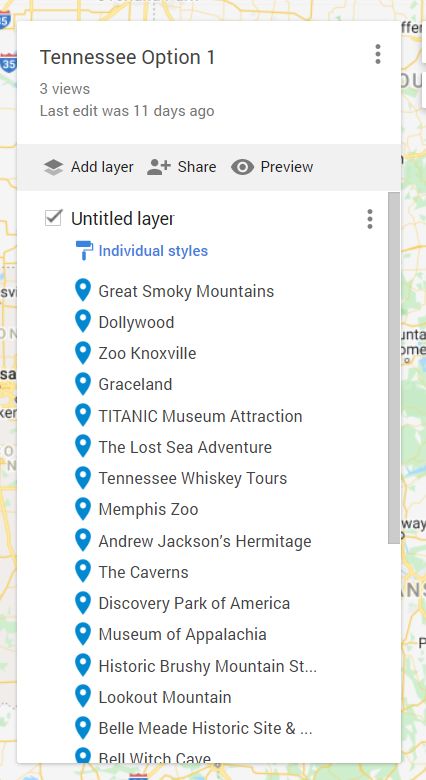
2) Name your map.
This will help with keeping things organized. You also can utilize this feature to build 2 similar maps to help give you options for planning your time and or budget.
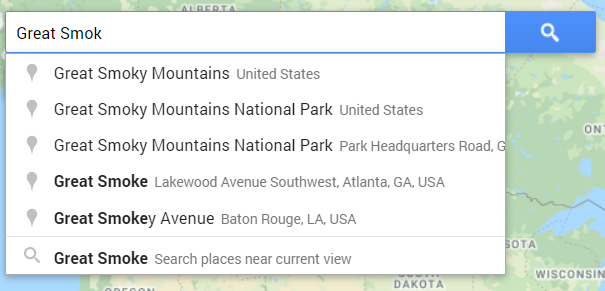
3) Start searching for the cities or attractions you may want to do.
Just like any search engine, start typing in your locations whether it be a museum, city, restaurant, etc. You will notice a list of potential options start to populate.
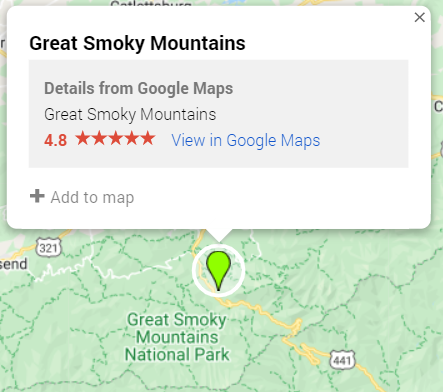
4) Add destinations to your list.
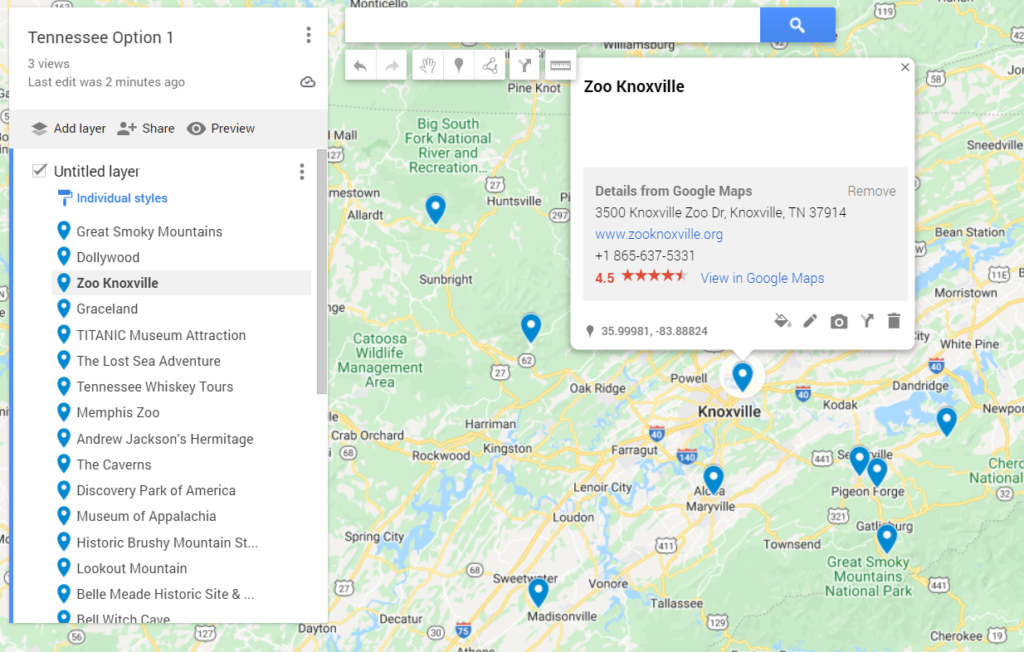
When you find the location you are interested in you can select it from the list, at this point a popup with appearing on the map. This popup provides you with a few pieces of information to help you determine if the location is accurate for your needs and wants.
Once you have determined that this is the exact location you want to add to your map click on the + Add to Map
You will see on the left-hand side of your map that the destinations will start to populate.
Planning your Road Trip Itineraries with Google Maps
Now that you have a list of attractions and locations you want to go to, you can start planning out your road trip itinerary.
One thing that really helps us with building an itinerary is knowing the days and times locations are open. This provides us with some context on which days we want to be in what locations.
For instance, if we have 3 attractions all open on Saturdays only, we need to determine which one holds our interest the most and what is the distance between each location that we can prioritize our days.
1) Start a new layer in Google Maps
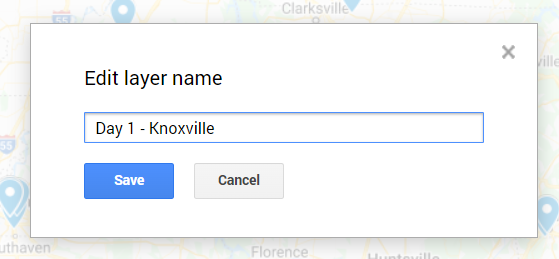
2) Name your layer
To do this, just double click on the layer name
3) Start moving attractions into this layer.
We usually build a new layer by zooming in on the city and clicking on the locations already marked with a pin drop (these are in your original untitled list).
Here you will see that the item lights up in the untitled list.
From there you can drag and drop the destination into your new layer.

Continue doing this until you have a list of attractions you would like to do each day.
An alternative way of building a road trip itinerary
Instead of building days, consider building out your cities. For example, on our Canada road trip, I started by building out each city.
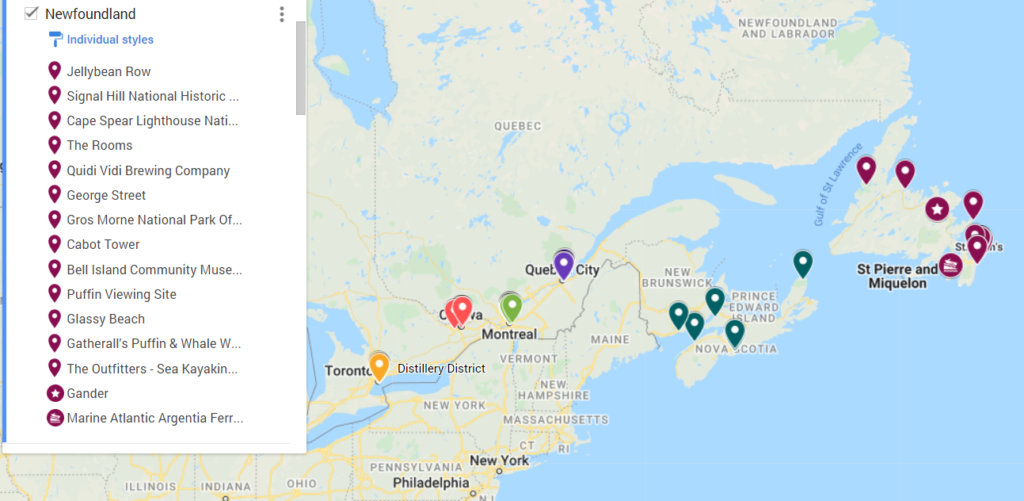
Utilizing color-coding I know which attraction sits with each city/area we want to visit.
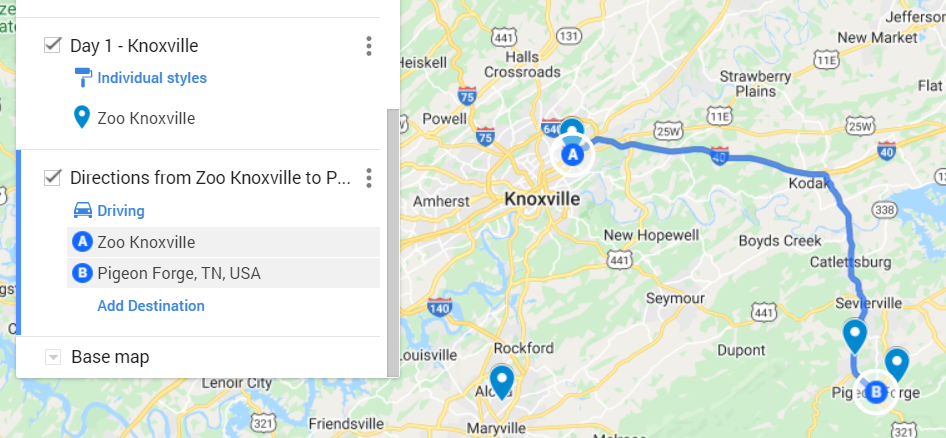
Setting Directions in Google Maps for Your Road Trip
One of my favorite parts about using Google Maps to plan a road trip is that you can put your directions in a layer.
This makes it so much easier to plot out which days you need to be in certain locations.
There are 2 ways to add directions within Google Maps
1) Click on the arrow under the search bar.
This allows you to add a layer to your map that provides you with directions from point to point.
2) The other is to draw a line
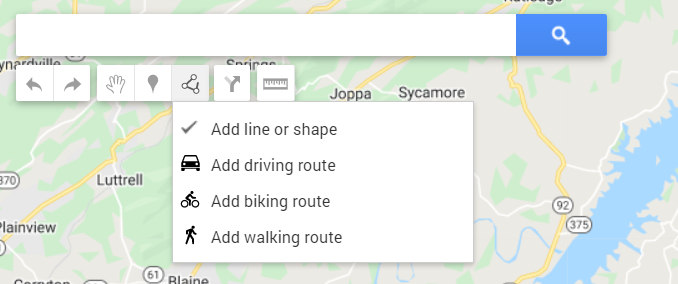
This option provides you with more options for directions, especially if you are going to be hiking or biking at any point that might not be obvious to Google Maps.
When planning our road trips we utilize the first option to determine our driving route. That is because we can add as many or as few destinations to a layer as needed.
For example here is our West Virginia Itinerary.
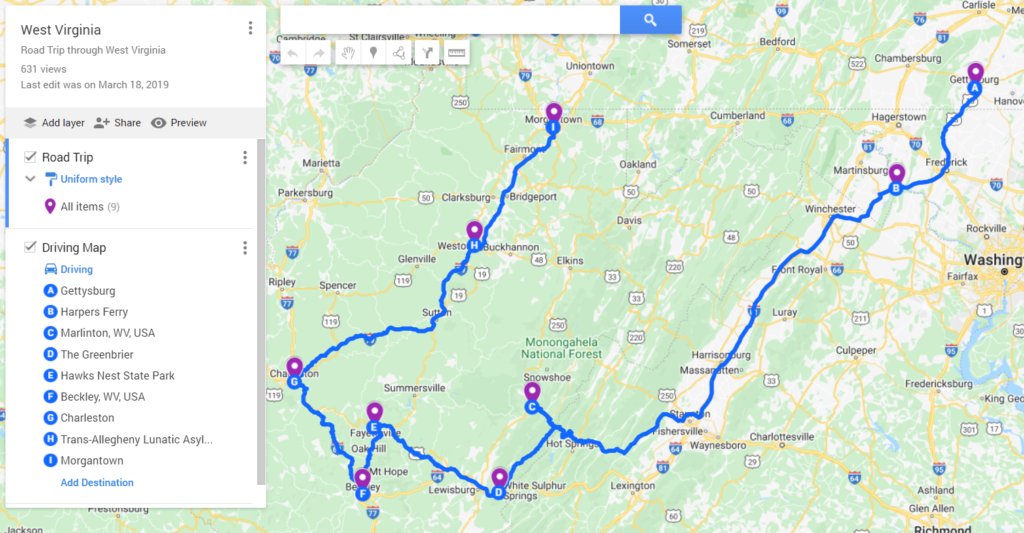
As you can see we started in Gettysburg and looped around to Morgantown. With each location having different attractions we were interested in seeing this route allowed us to plan on when and how we would reach each destination so we could plan our days.
Conclusion
Google Maps is a great free alternative to building and planning your road trips. You can access them anywhere with your phone as well.


Other Content That Might Interest You

Southwest Airlines Policy for Portly Passengers
Chub Rub is Real